Whether you've been crowned the grill master or are still a novice when it comes to backyard barbecue, you can upgrade your grill game with a solid sear burner. Sear burners are becoming more mainstream with each passing year, finding their way into the mid-range grill market. Where the side burner once reigned supreme, sear burners are an affordable and quick way to cook hamburgers, hot dogs, corn and other popular dishes.
Sear burners are pretty simple to cook with, but they might not be all that intuitive for new and even experienced backyard BBQ chefs. Fortunately, Nicolock Paving Stones is here to offer some tips and tricks to help you learn how to use the sear burner like a pro.
What Is a Sear Burner?
Before you can learn how to use a sear burner, you need to know what it is.
The sear burner is a set of three to four burners closer together than other burners on your grill. The point of that is to create a special zone that gets hotter faster, allowing you to get a good sear.
Can you still sear on the regular part of your grill? Of course, but it will take longer and your results might not be as good as if you used a sear burner. If your grill doesn't have a side burner, you can buy one separately.
How to Use a Sear Burner
Using a sear burner is easy. With a few tricks, you can even get a professional sear that rivals your favorite steakhouse. Just follow these steps below to improve your sear grilling:
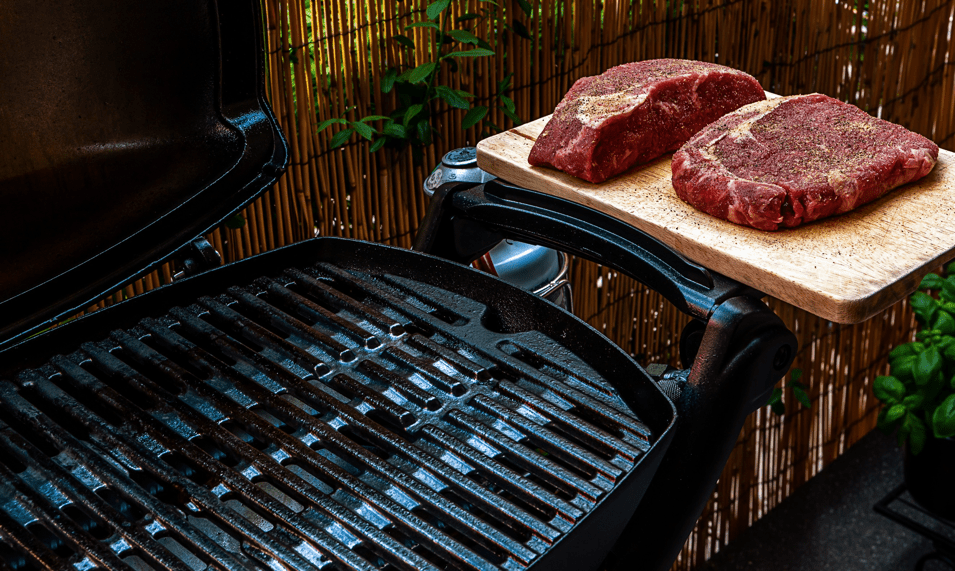
Step 1.) Start your grill as you normally would. Open the lid, light the main burners and allow the grill to pre-heat. It's important to start with a hot grill.
Step 2.) Once the grill is good and hot, you'll want to either turn down or turn off the main burners before lighting the sear burner. This process will vary depending on the make and model of your grill. Allow the sear burner to warm up for 1-2 minutes.
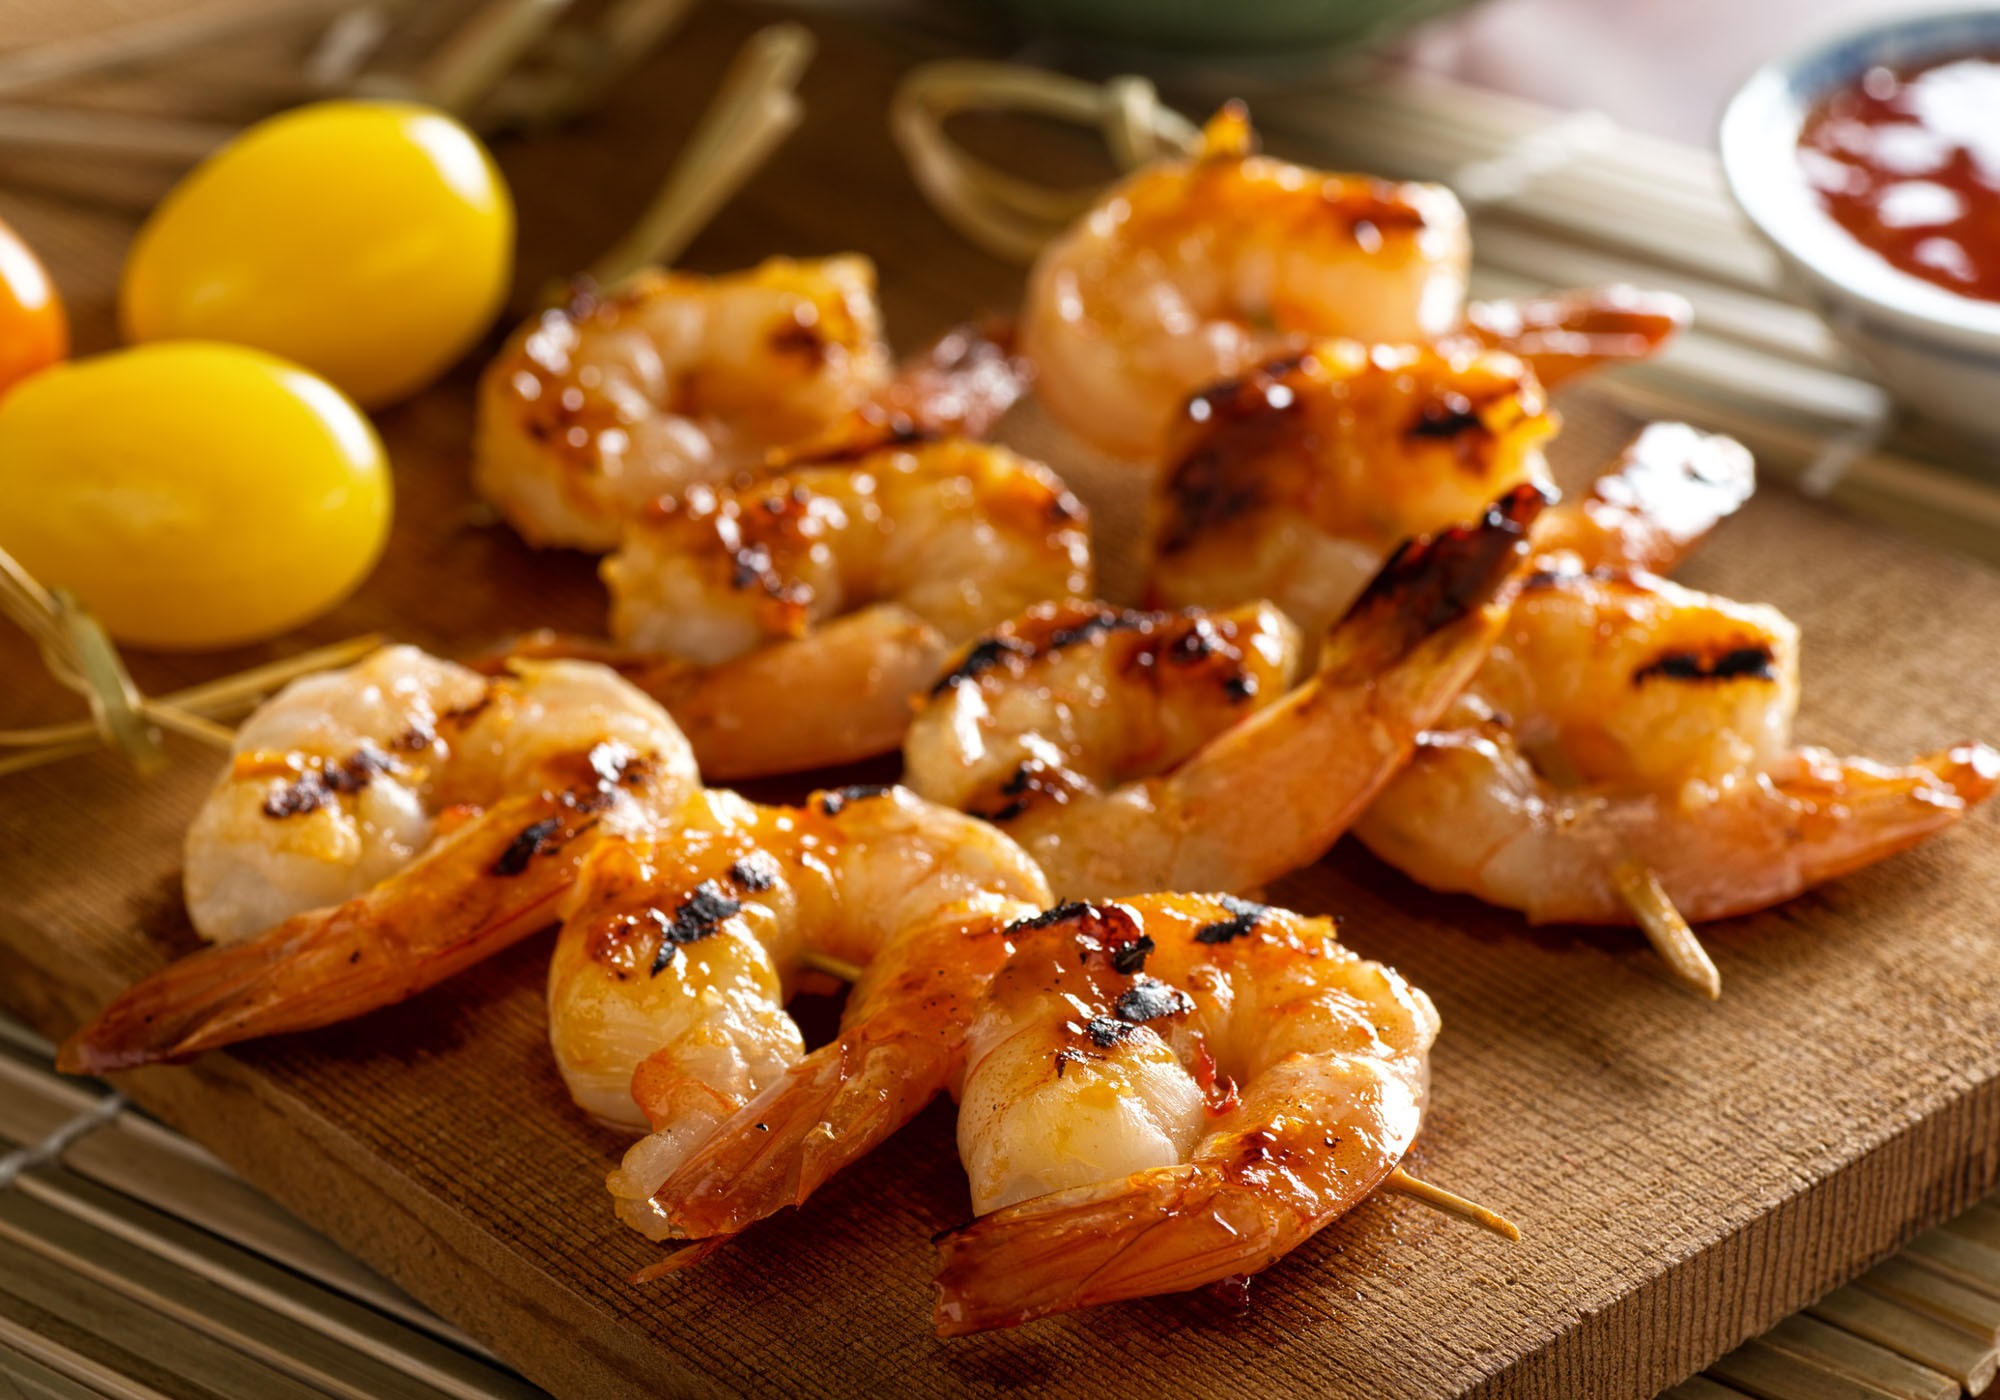
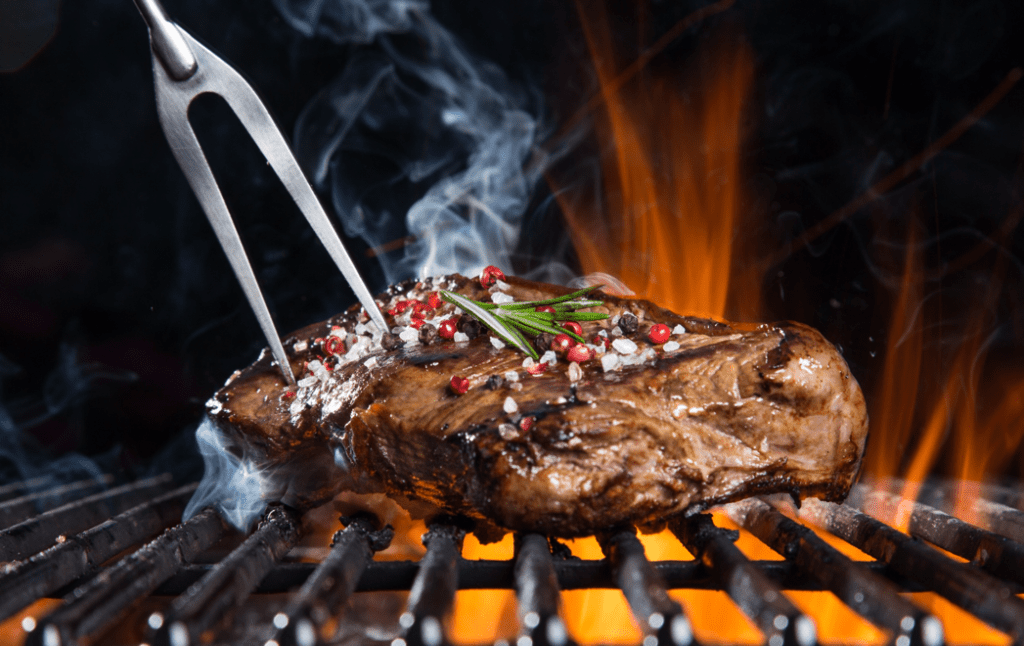
Step 3.) Place the food you want to sear onto the sear burner. You'll want to sear each side for 1 to 4 minutes, depending on what you're cooking. You may need to experiment to find the right time for your grill.
Different meats require different searing times. As an example, here's how long you should sear a steak depending on your desired temperature:
Step 4.) Once the food is seared, move it to the main part of the grill where the heat is lower and complete the cooking process.
Reverse Sear
Searing food is a great way to get started cooking and to lock in the juices, but the reverse sear method is quickly gaining popularity because it delivers a crisp finish and a powerful grilled flavor. For a reverse sear, food is cooked almost to completion on the main part of the grill before being moved to the sear station to be finished.
In many ways, the reverse sear can be more complex than the traditional sear because it's very easy to overcook the food. When done right, the reverse sear will result in stunning grill marks and a pleasant, smoky finish.
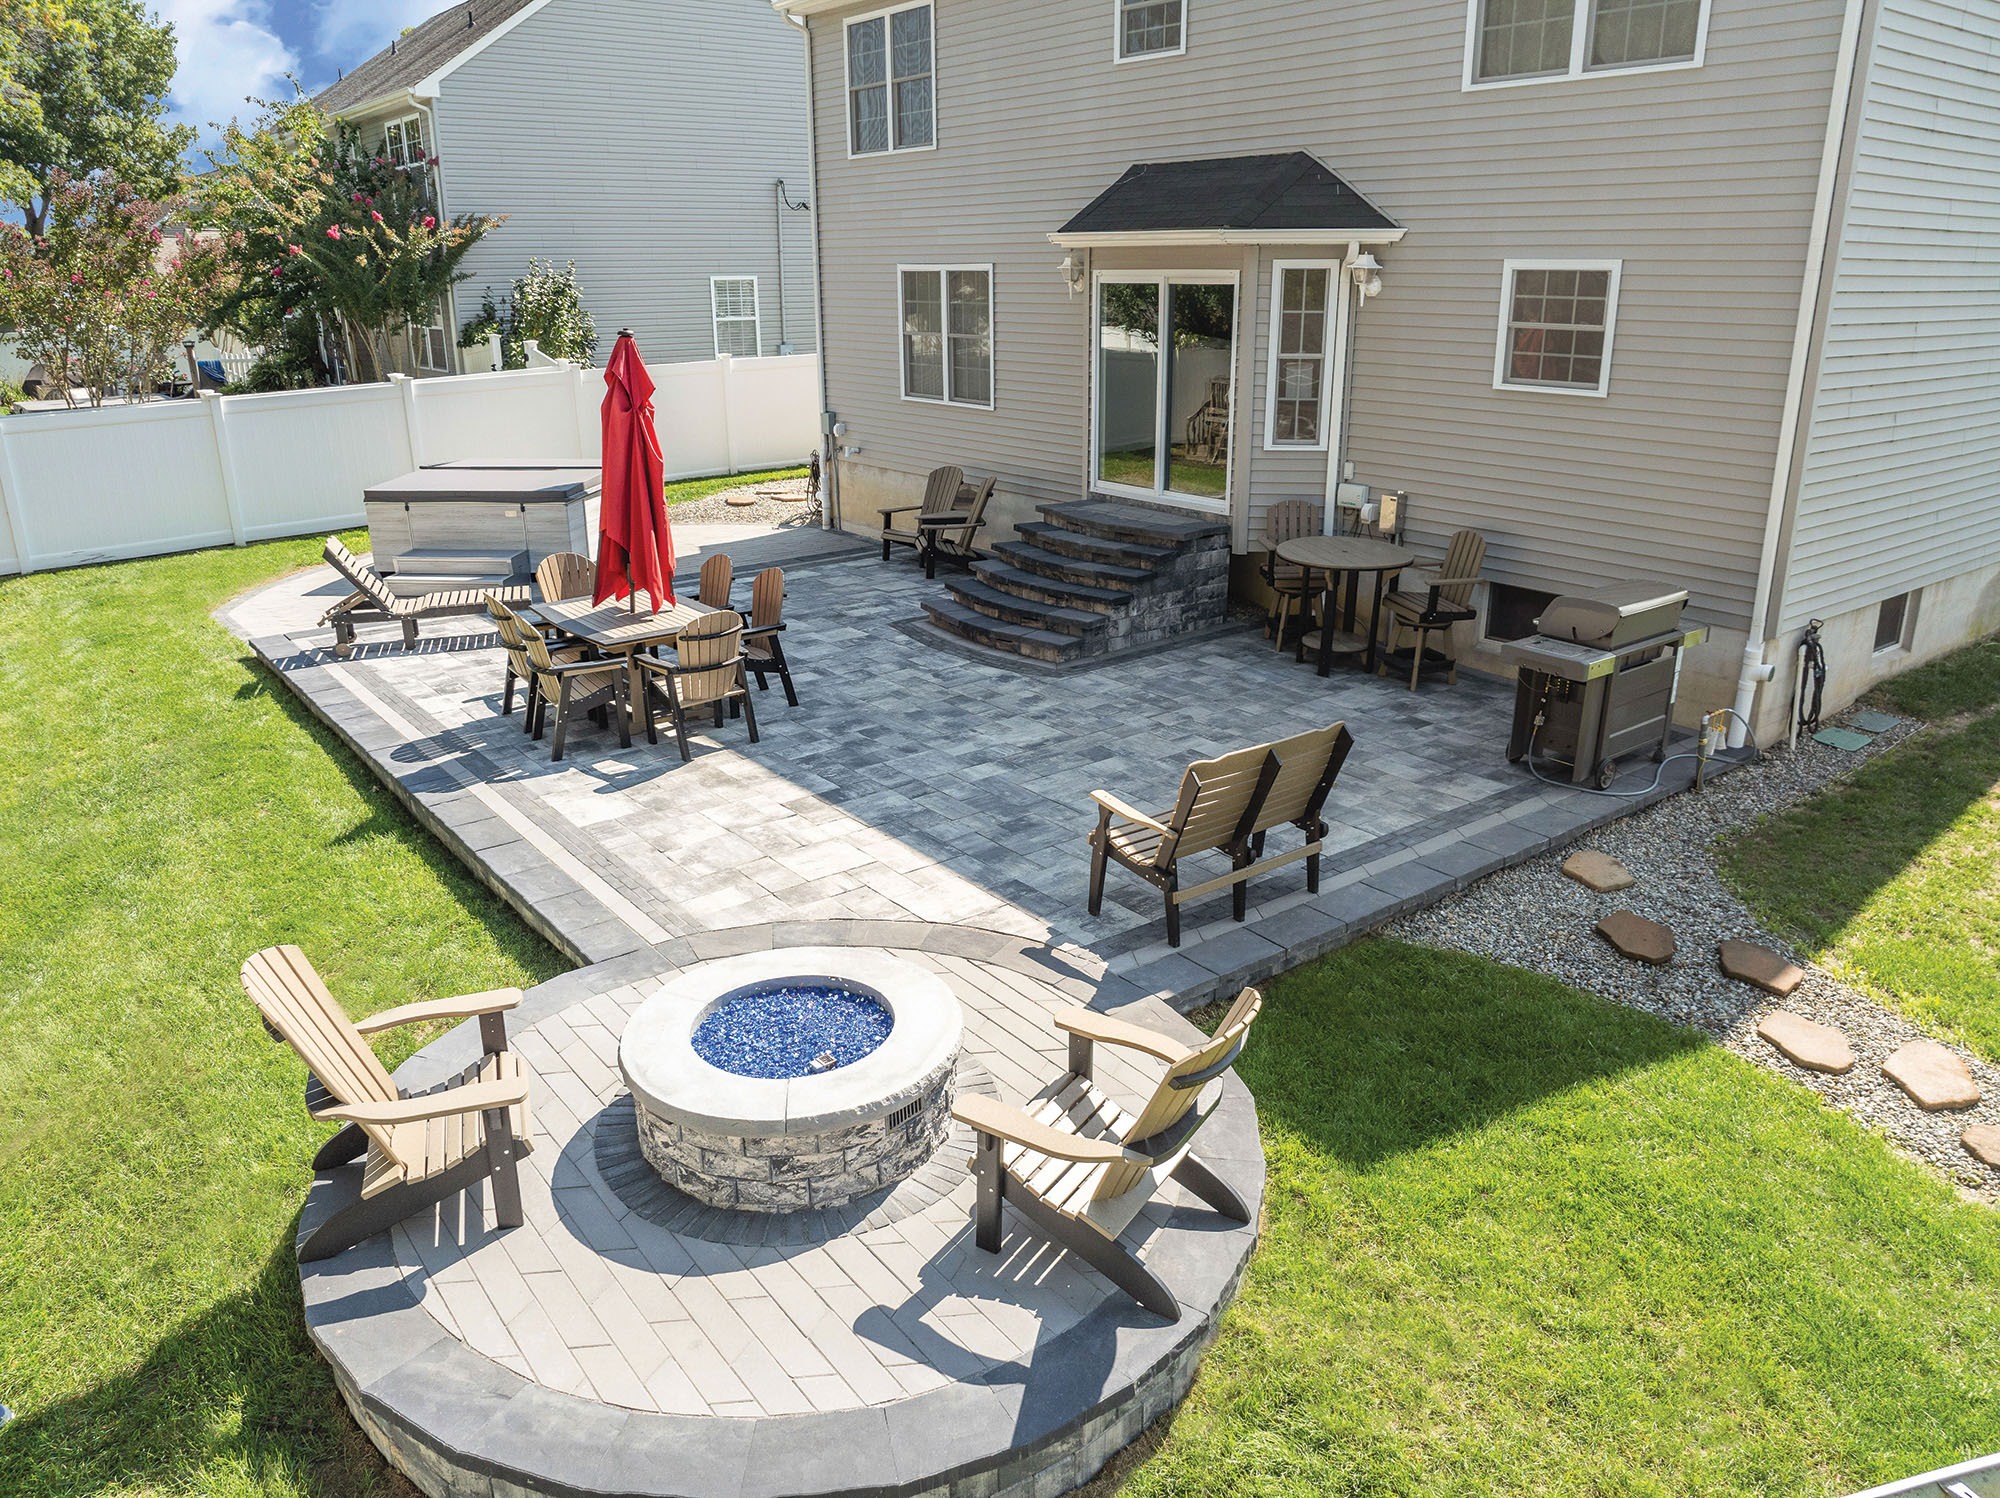
Whether you prefer a traditional sear or a reverse sear, you can get the classic grill marks you love along with an excellent taste and texture by learning how to use the sear burner on your grill. Ready to give it a try, but don't have a grill suitable for searing?
Nicolock Paving Stones is here to help. We sell grills, side burners, outdoor dining kits, kitchen packages and other outdoor living tools and furniture to help you with patio or backyard cooking. Contact us today if you have any questions, and try experimenting with different foods and settings to master outdoor cooking with the latest outdoor supplies from Nicolock Paving Stones.