Before you go anywhere, bookmark this page because the experts at Nicolock Paving Stones are dishing out all the secrets on how to install step stones like a professional. Whether you’re planning a full paver stone walkway or a simple stepping stone path, these projects are affordable, attractive, and DIY-friendly.
Step stones offer a beautiful way to protect your landscaping without committing to a full paved walkway. They are easier to install than larger paving projects and make the perfect weekend outdoor upgrade. If you’ve ever wondered how to lay stepping stones, keep reading for a step-by-step guide.
Before installation, decide which type of stepping stones best suit your project. Popular choices include:
Large stepping stones for walkways are easier to walk on and cover more ground, while smaller garden step stones add delicate charm in tight spaces. Your choice will depend on the look and function you want for your stepping stone path.

Once you’ve chosen your materials, you’re ready to begin installation. These steps work for most landscaping stepping stones, concrete step stones, or pavers for garden steps.
Lay out the step stones on the lawn or garden bed to see how they look. Adjust spacing until you’re satisfied, then mark outlines with spray paint or chalk. For wider spacing, measure the distance between stones to create an even, walkable pattern.
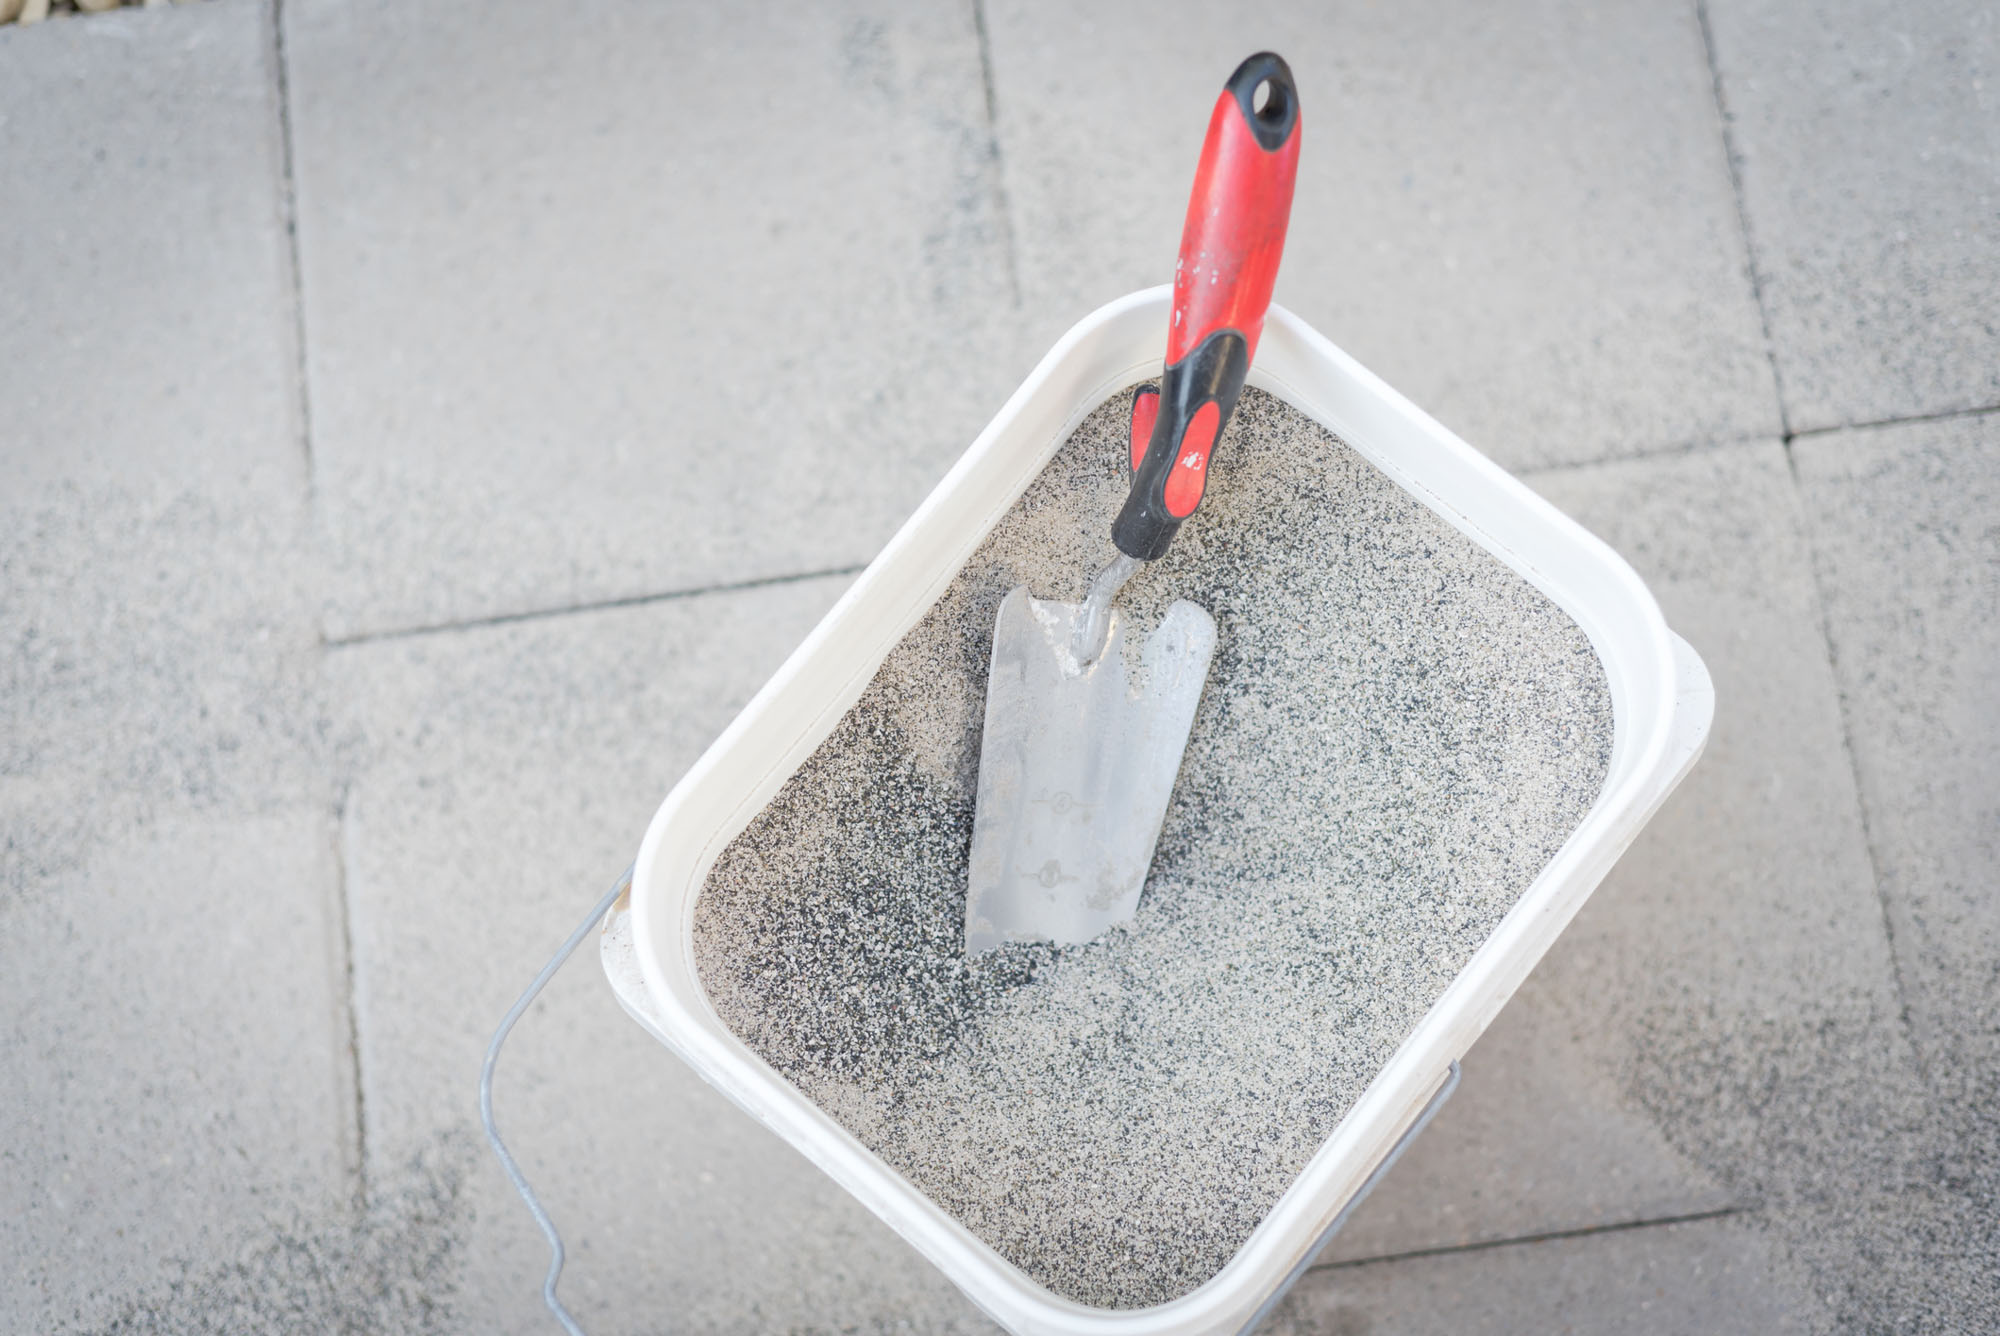
Dig out 3–4 inches beneath each marked stone using a shovel. This allows room for gravel and sand layers that will keep the landscape stepping stones stable.
Pour about 2 inches of gravel into each excavation. This layer ensures proper drainage and prevents your paver stepping stones from shifting. For extra protection, place a weed barrier fabric beneath the gravel.
Spread ¼ inch of leveling sand over the gravel. This base makes it easy to adjust and level each concrete step stone or paver stepping stone.
Set each stone in place, pressing it into the sand. Use a level to check for stability and adjust as needed. Whether you’re creating a gravel stepping stone path or a stepping stone walkway on grass, this step ensures the stones are secure.
Fill around the edges with soil, gravel, or additional sand to lock the stones in. For a decorative look, consider creating a stepping stone gravel path by filling gaps with decorative rock or pea gravel.

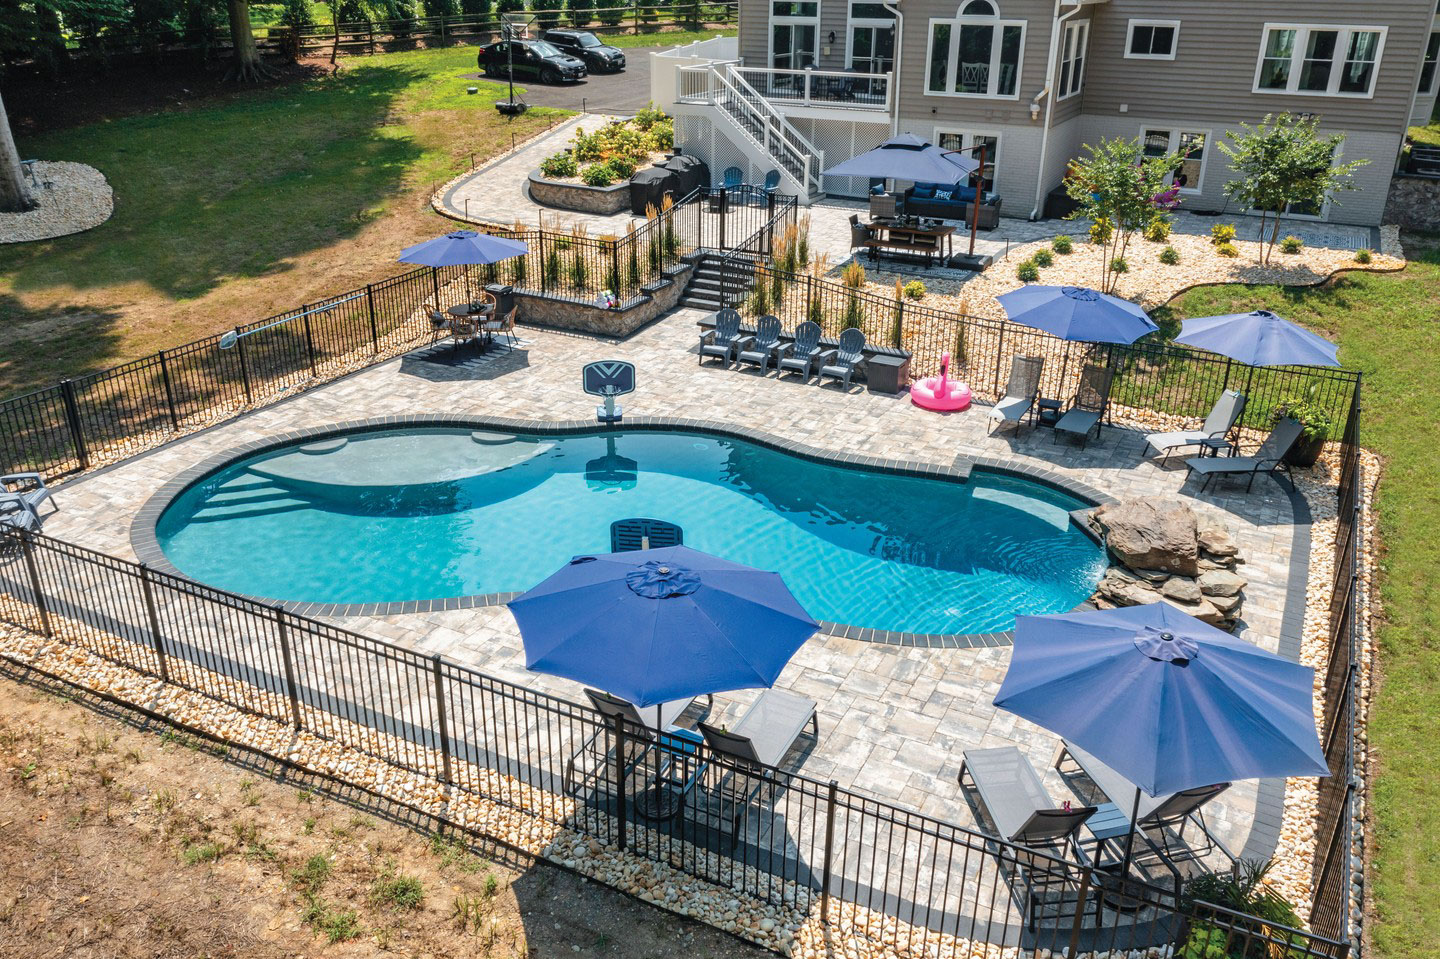
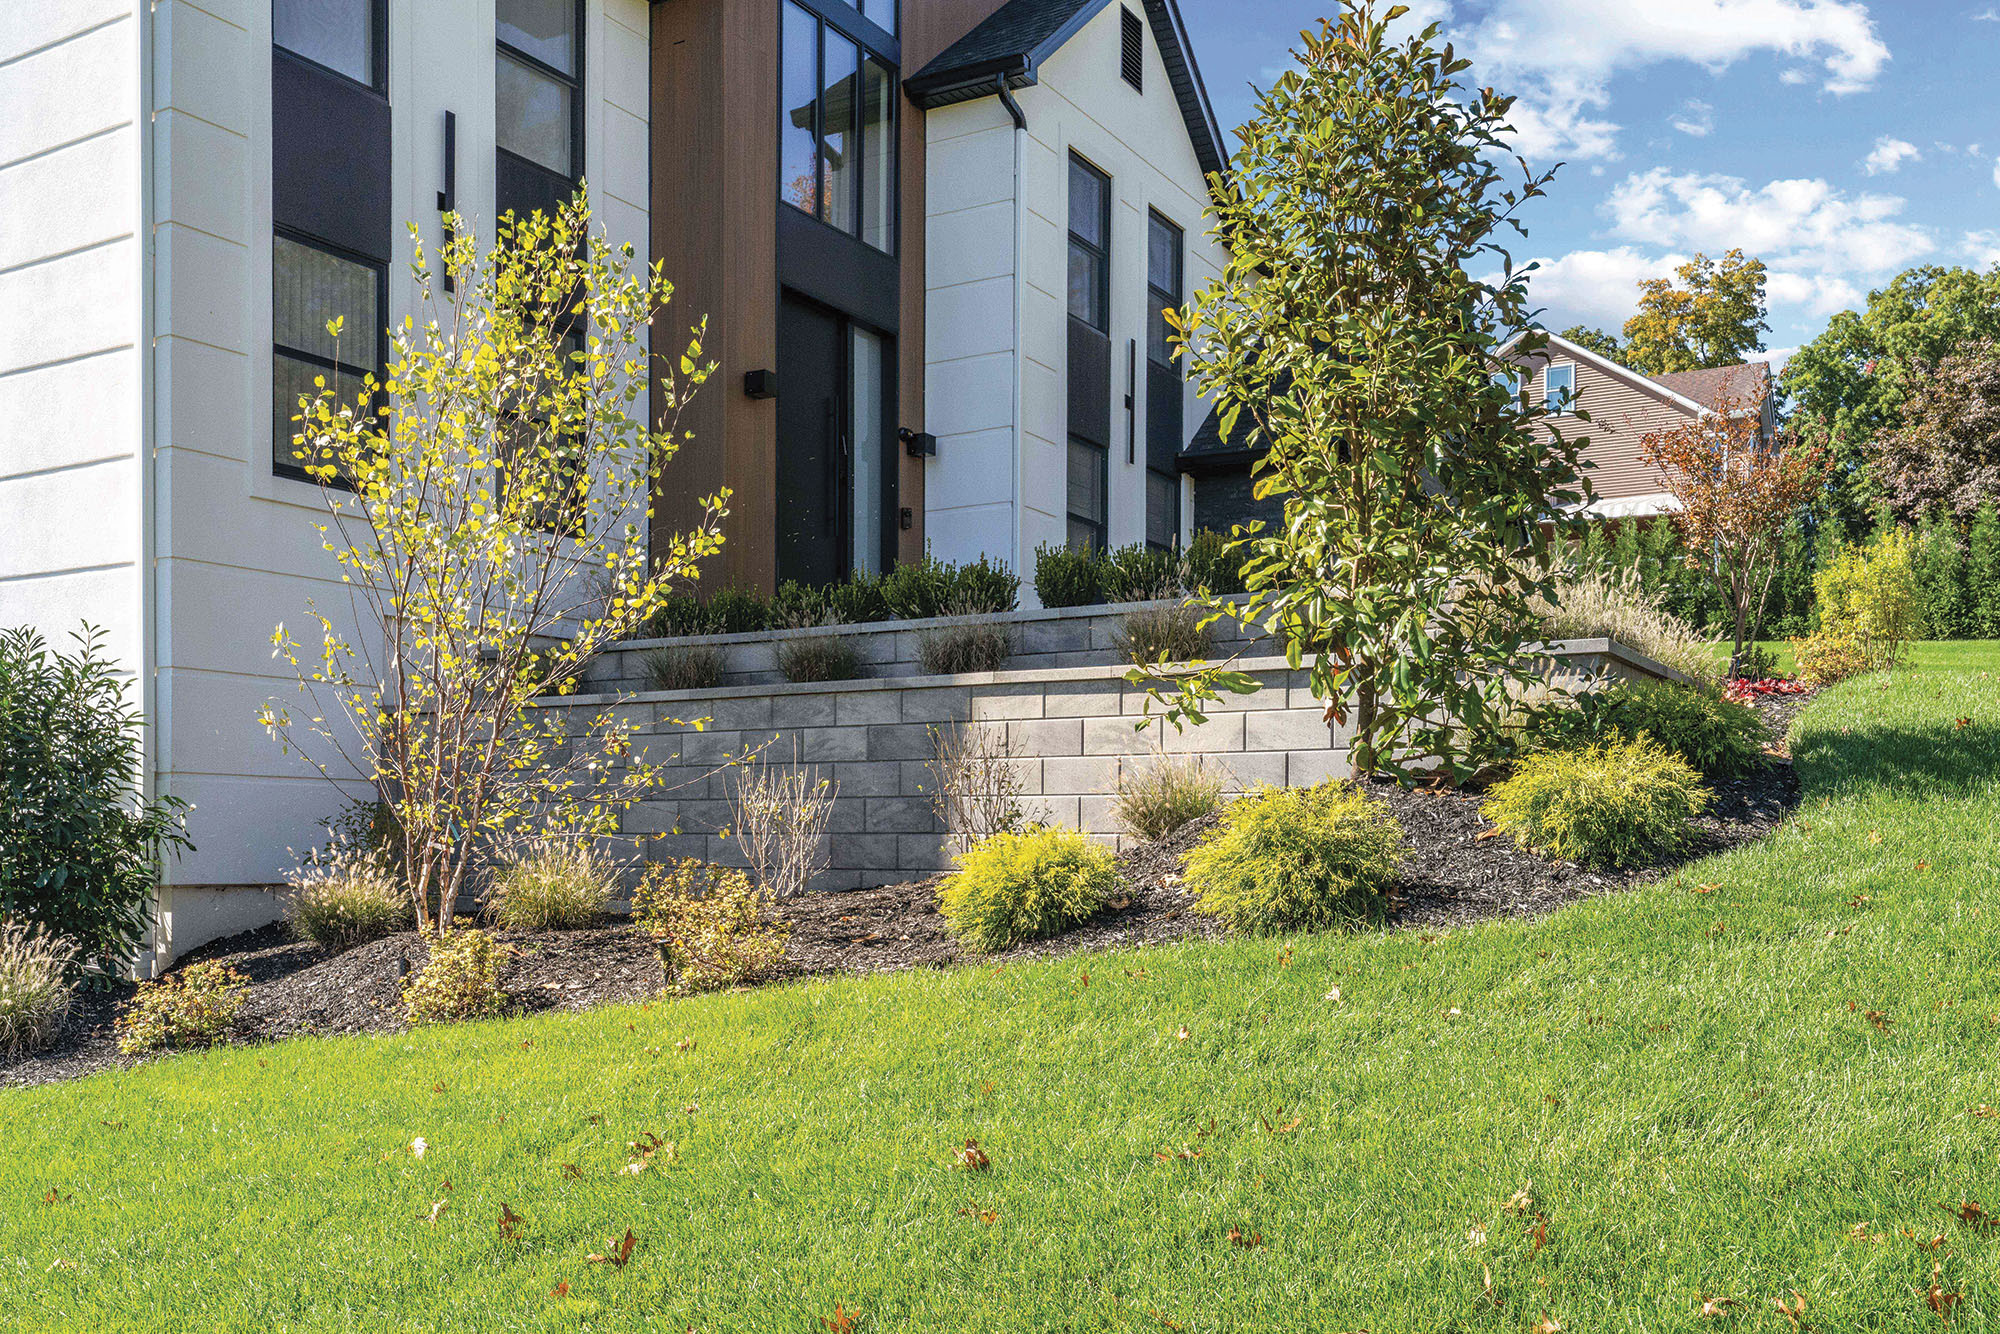
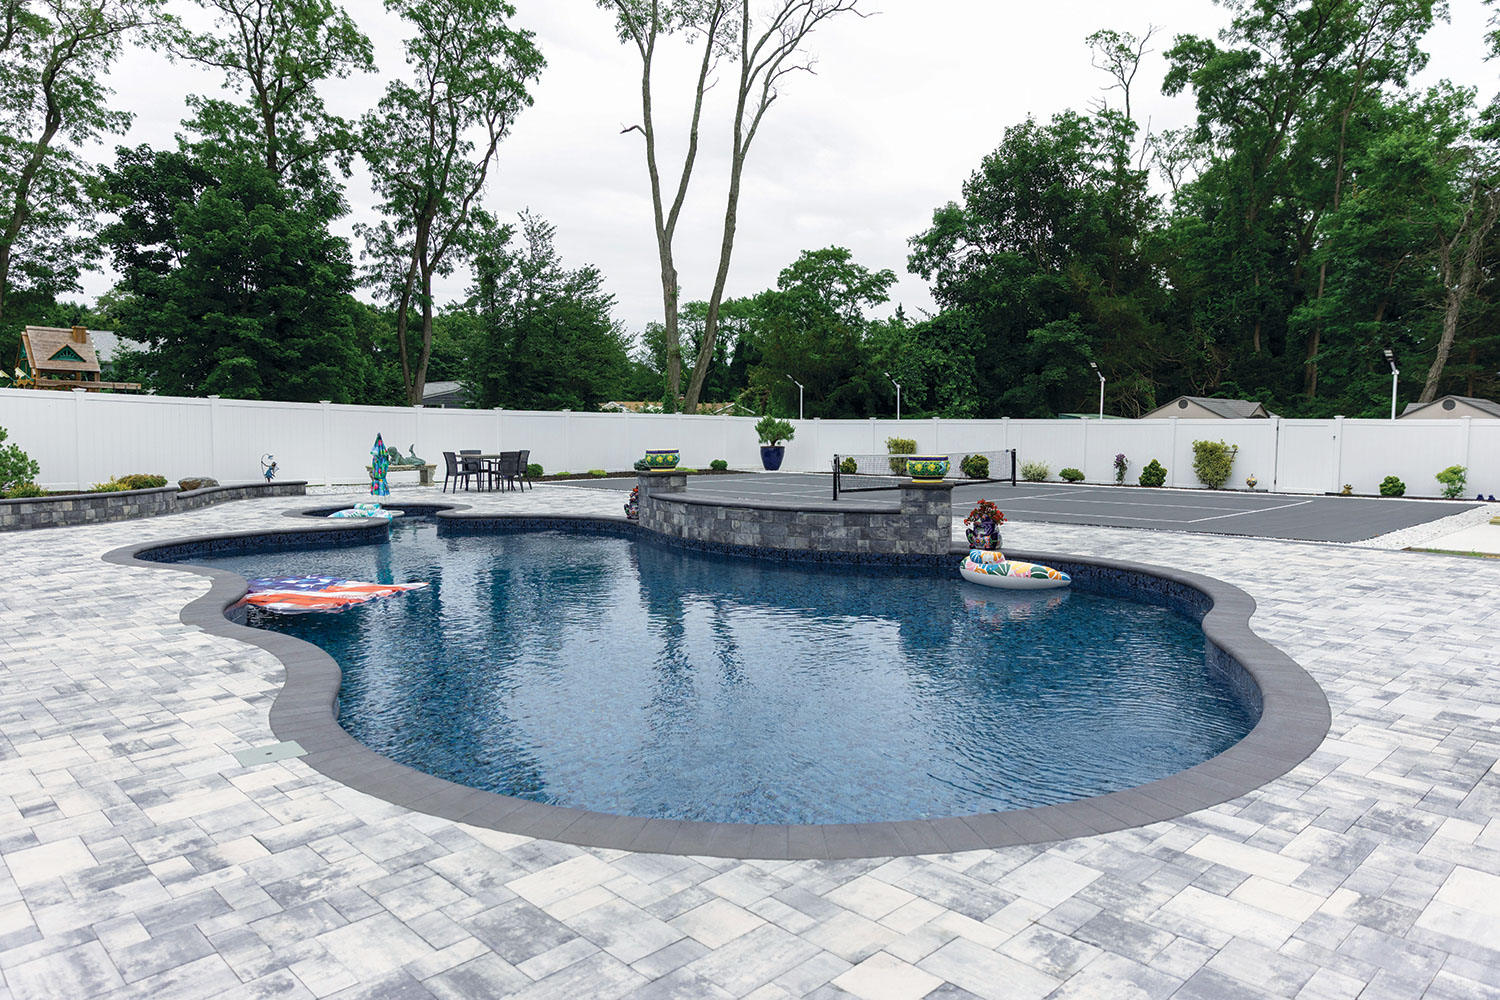
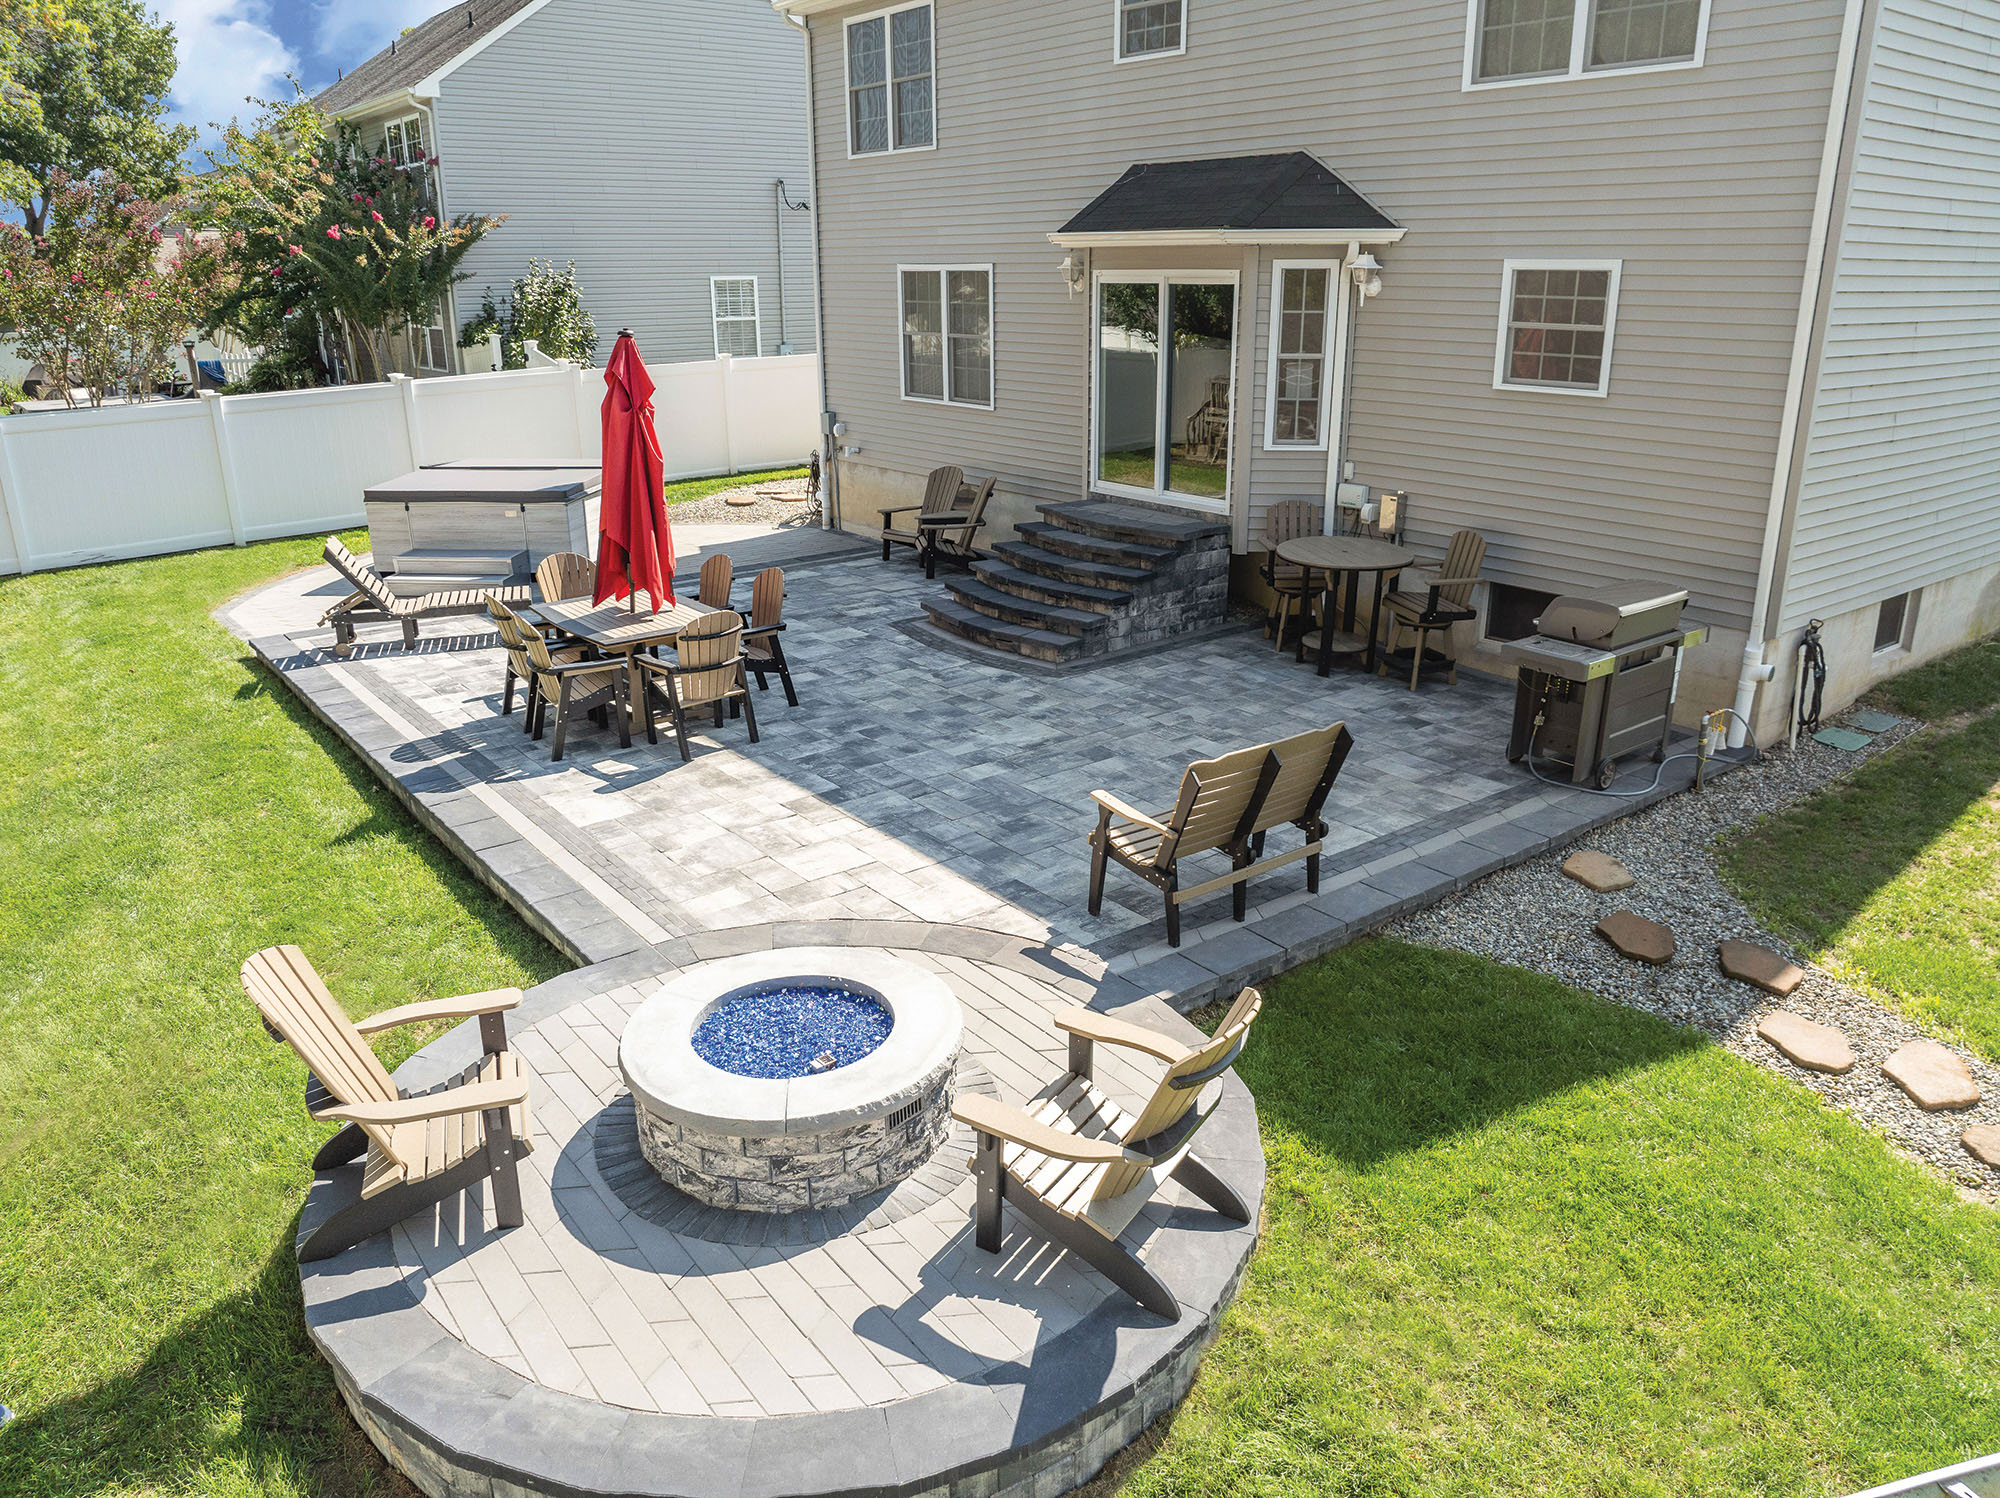
There are countless ways to use pavers and stepping stones in your landscape:
You can mix materials to create unique looks—for example, pairing stepping stones and gravel paths with a paver patio, or combining round paving stones with mulch for a rustic garden walkway.
With Nicolock’s advanced manufacturing process, our stepping stones, pavers and paver stepping stones are designed for durability, rich color, and long-term beauty. Whether you’re learning how to install paving stones in grass, planning a step stone walkway, or looking for ideas on rock stepping stone paths, Nicolock offers the quality products and guidance you need.
And if DIY isn’t your style, Nicolock can connect you with a professional contractor who knows exactly how to install a paver stone patio or a paver sidewalk.
To seal patio pavers, start by cleaning the surface thoroughly and letting it dry completely. Apply a paver sealer evenly with a roller or sprayer, then allow it to cure for 24–48 hours before using the patio.
Sealing brick pavers involves removing dirt and weeds, pressure washing the surface, and letting it dry. Once clean, apply a penetrating or film-forming sealer to protect against stains, fading, and moisture damage.
To lay stepping stones, mark the path, dig shallow holes that match each stone’s depth, and place the stones evenly spaced. Fill the gaps with sand, soil, or gravel to secure them in place.
Yes, sealing a patio helps protect paving stones from stains, water damage, and fading. Sealing should typically be done after installation and reapplied every few years for lasting protection.