Cool evenings bring some of the best reasons to cook outside: pork chops sizzling beside sweet potatoes, friends arriving for the game, and dinner stretching into conversation on the patio. These fall grilling tips will help you manage changing weather and bring everything to the table while it is hot.
A little preparation leaves more time for those moments. Give the grill enough time to heat, decide which dish needs the earliest start, and set out clean platters before cooking begins. Then you can concentrate on dinner without spending the evening running between the backyard and kitchen.
Before guests arrive:
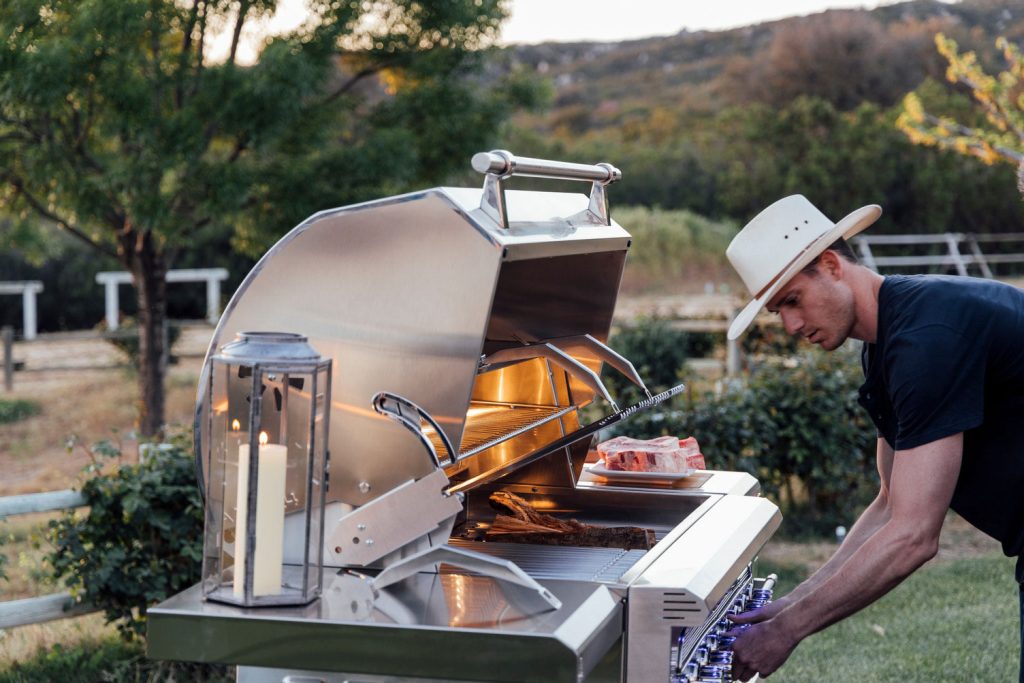
Your summer routine may need a few adjustments as temperatures drop. Cooler air and wind can affect preheating and heat recovery, while earlier sunsets make lighting part of dinner preparation.
Avoid adding an arbitrary number of minutes to every recipe. Instead, follow your grill’s operating instructions and watch its temperature. Food thickness, weather, and the cooking method all influence when dinner will be ready.
Gas, charcoal, and pellet models need different attention before startup:
Not every model supports the same searing or indirect-cooking arrangement. Consult the manual before changing your usual setup.
Remove grease and food residue using approved methods. Complete any tasks that require cool surfaces before preheating, then clear fallen leaves from the surrounding patio.
The National Fire Protection Association’s grilling guidance covers cleaning, outdoor placement, supervision, and separation from combustible materials.
Gather tongs, heat-resistant gloves, a thermometer, and clean serving dishes. Mix sauces and prepare vegetables before the busiest stage of cooking.
Leave perishable ingredients refrigerated until needed. Keep utensils used for raw meat separate from those intended for cooked food.
A clear counter beside the grill gives you somewhere to season squash, rest a clean platter, or set down a spoon. Even a modest preparation area can save several trips indoors.
Preheating gives food the cooking conditions its recipe calls for. Let both the appliance and grates reach the recommended temperature instead of rushing because everyone is hungry.
Once cooking begins, decide what needs attention before opening the lid. You might turn chicken, move vegetables, and take a reading during the same opening. Close the hood afterward when appropriate for your method.
A compatible leave-in probe can help you follow longer cooks without repeated peeking. Continue supervising the grill even when a remote display supplies updates.
Wind deserves attention, too. Notice where gusts carry smoke and follow manufacturer clearances when positioning portable equipment. Never operate an outdoor grill inside a garage or enclosed room.
Covered installations require appliances, ventilation, and clearances designed for that setting. Avoid improvised barriers that restrict airflow or bring combustible materials too close.
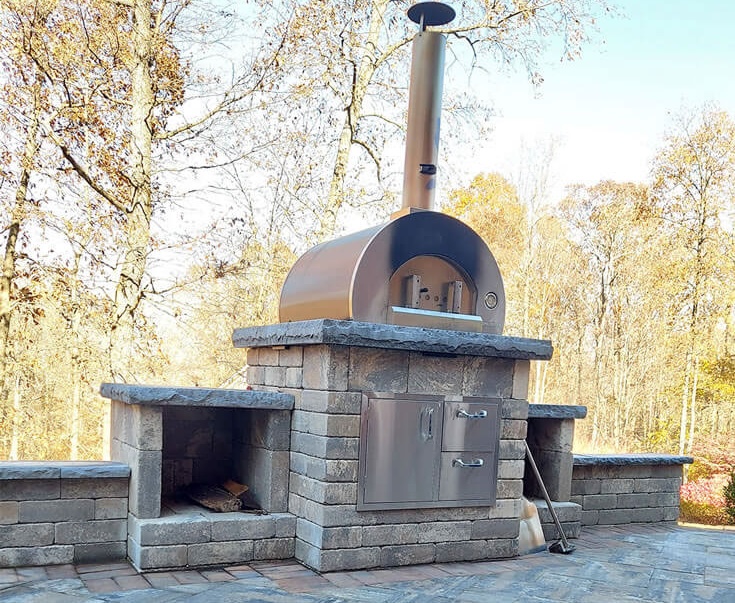
A manageable menu gives each dish enough space and attention. Chicken portions, molasses-glazed sweet potatoes, and a simple salad make a useful example: the main course occupies the grill longer, the potatoes finish briefly over heat, and the salad needs no cooking.
Nicolock’s sweet potato recipe starts with simmered slices, then finishes briefly on the grill. Prepare its glaze ahead and follow the full directions for thickness, heat, and timing.
Here is how to organize that meal without assigning unsupported cooking times:
This sequence illustrates meal planning, not a tested schedule. If your cooking surface can't safely accommodate both dishes, finish the side separately or simplify dinner.
Direct cooking places ingredients above the heat source. Indirect heat positions them away from that immediate intensity.
Where your model allows both, use the zones according to each recipe. A browned exterior doesn't mean the chicken has cooked through, and vegetables may need a gentler finish after their edges develop color.
Leave enough room to turn and reposition ingredients comfortably. Crowded grates make these small tasks harder.
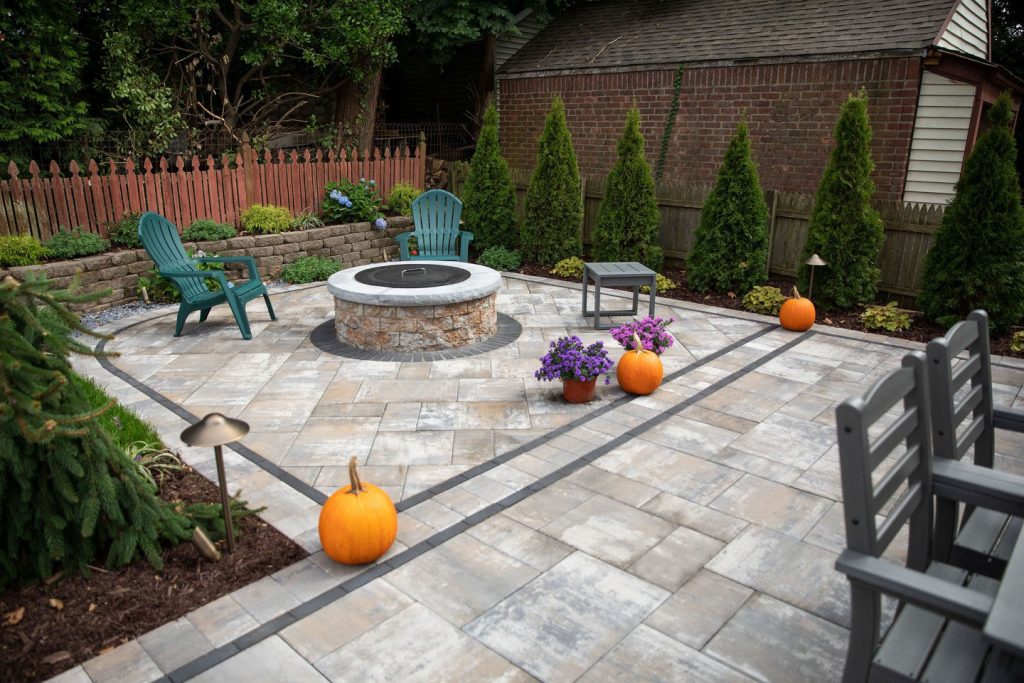
Your hood gauge reports conditions inside the grill. A food thermometer measures the temperature within the meat.
Follow the probe’s instructions, generally taking readings in the thickest portion and avoiding bone where applicable. Measure more than one piece when portions vary.
FoodSafety.gov lists these safe minimum temperatures:
| Food | Minimum internal temperature | Required rest |
| Beef, pork, veal, and lamb steaks, chops, or roasts | 145°F | At least 3 minutes |
| Ground beef, pork, veal, or lamb | 160°F | None specified |
| Poultry, including ground varieties | 165°F | None specified |
Include required resting periods in your dinner plan. While a finished pork chop rests as directed, you can bring the final side to the table.
Reach the applicable minimum before removing meat from heat. Do not rely on an assumed temperature increase afterward to make undercooked portions safe.
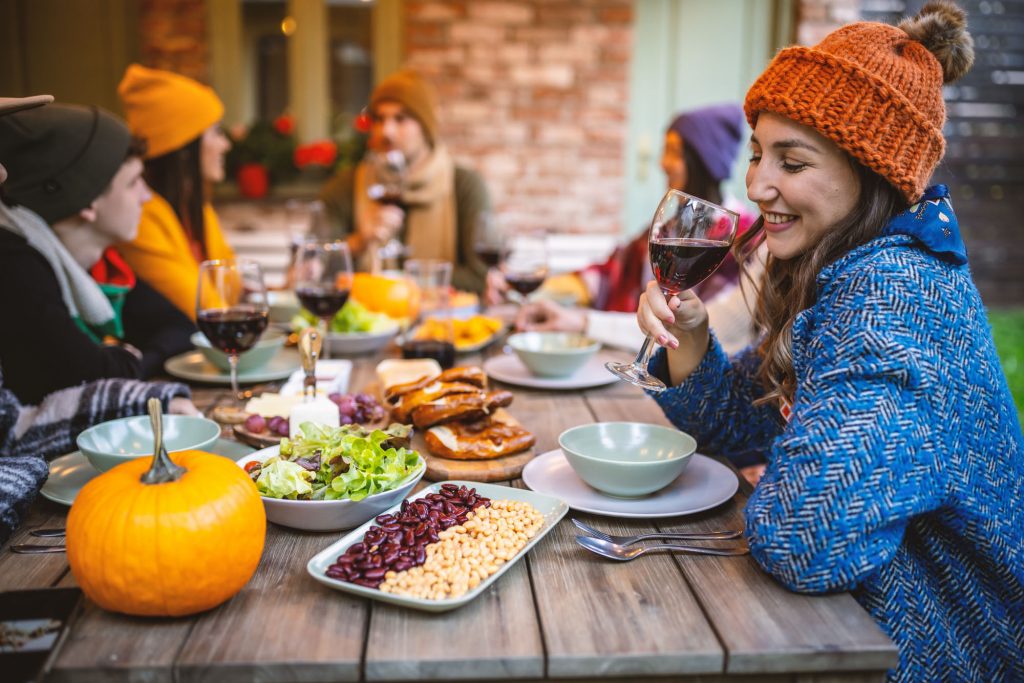
Set the table while daylight still reaches the patio. Arrange napkins and utensils, bring out serving dishes, and turn on lights before sunset.
Keep the route between house and dining area clear. Task lighting should illuminate the grates and preparation counter, while softer fixtures can light seating without shining into guests’ eyes.
For football gatherings, serve smaller batches as they finish. At a seated dinner, limit last-minute dishes so everyone can settle in together.
Place platters near the serving area, away from raw ingredients and hot equipment. Cover finished dishes where appropriate and serve promptly.
If warming plates, use only methods approved for that dishware. Ordinary ceramics should not go onto hot grates.
Extended holding requires more than a foil cover. USDA guidance specifies keeping cooked food hot at or above 140°F. Use suitable holding equipment and verify its temperature rather than assuming a warming rack will suffice.
A simpler menu often makes service easier than adding another appliance. Two well-prepared sides can accompany the main course without demanding constant attention.
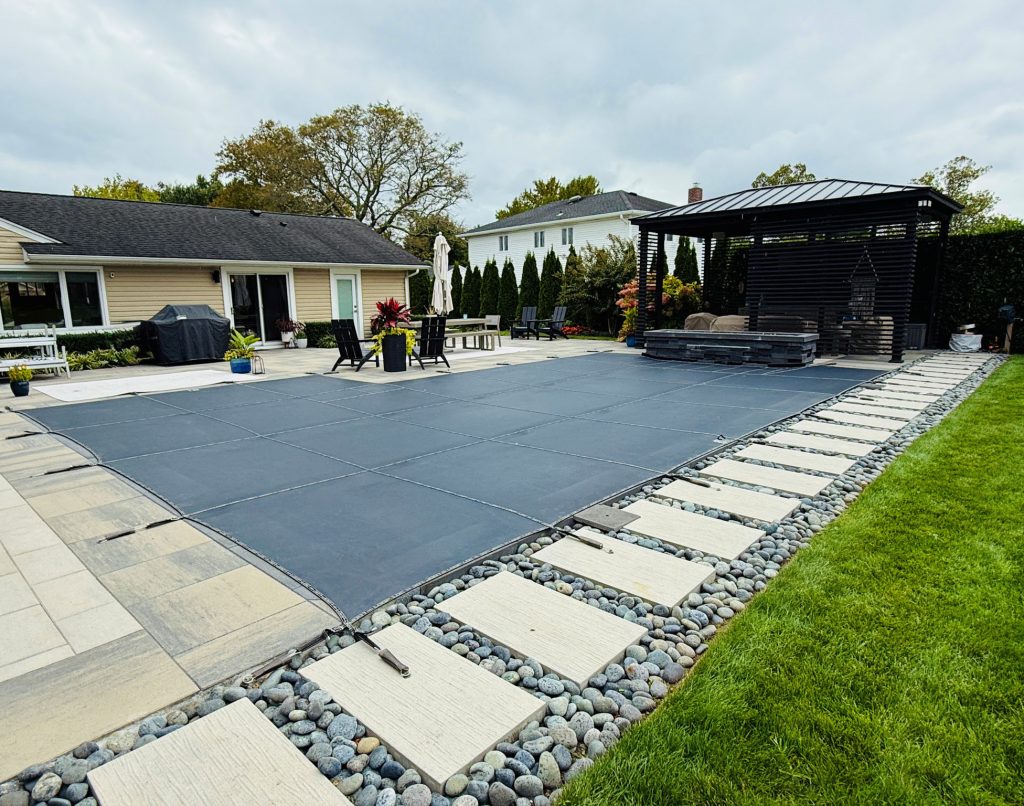
An outdoor kitchen should make everyday tasks easier. Consider where you will season vegetables, set down clean dishes, grab drinks, and carry food to the table.
Position self-service refreshments beyond the cook’s immediate workspace. Leave space for chairs to pull out without blocking a doorway or forcing someone beside hot equipment.
Seasonal planters and pumpkins can frame an entrance while keeping walking routes clear.
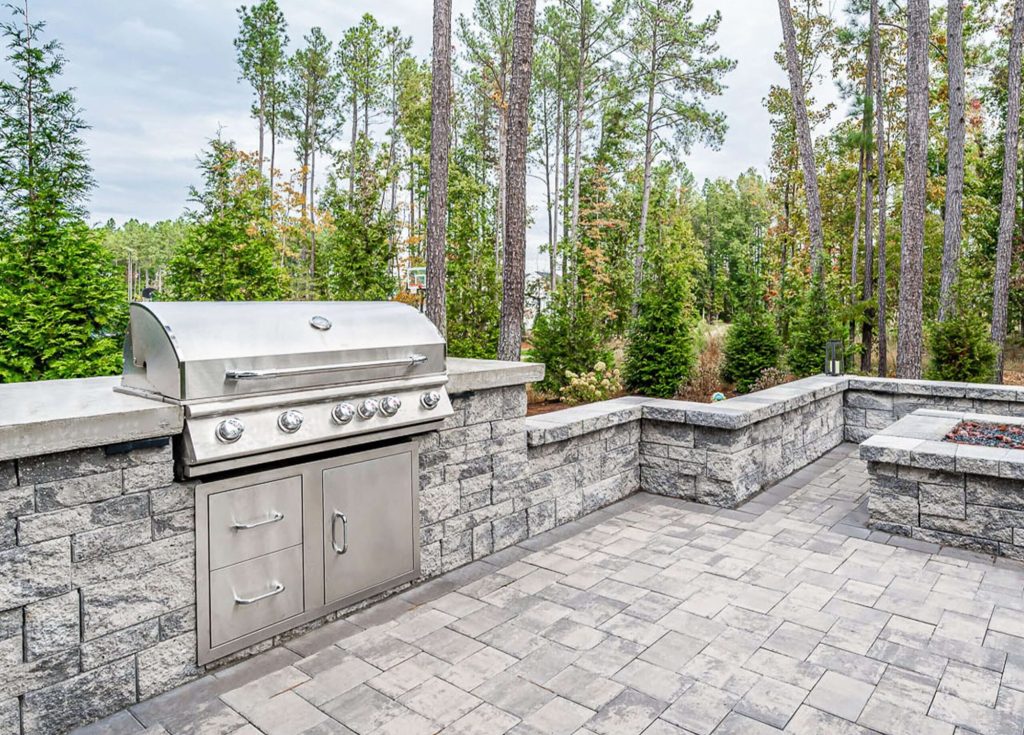
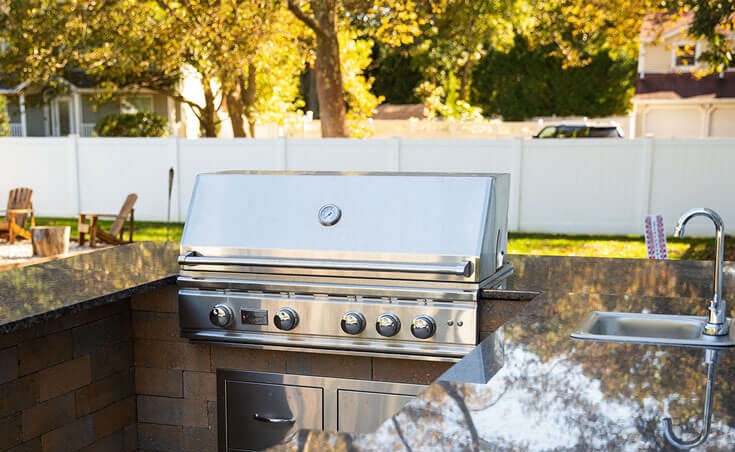
In Nicolock’s published outdoor kitchen project, granite counters sit alongside a grill, griddle, and power burner, with refrigeration nearby. Ridge Brick in Chesapeake Blend carries across the surrounding patio.
Look at the jobs those features handle before planning your own space. Counters provide prep space, refrigeration stores ingredients, and separate cooking appliances allow different cooking methods.
Your household may need fewer components. Start with the meals you enjoy preparing, then discuss site conditions and installation requirements with a contractor.
Nicolock’s Segmental Kitchen Systems offer cabinet options for arranging kitchens, islands, and bar areas around those needs. Prioritize usable workspace and storage over filling every available corner.
Holiday meals become easier when you decide which dishes deserve outdoor cooking space. Reserve room for the main course, then prepare sides indoors or in separate stages.
For a turkey dinner, plan thawing and temperature checks well before guests arrive. Whole birds must reach 165°F in the innermost thigh and wing areas and the thickest breast portion under federal food-safety guidance.
Nicolock’s grilled seasonal vegetables provide another option for the table. Read the recipe alongside your main dish to determine whether both can share the available space.
Dessert can wait until everyone has eaten. Grilled apples or pears give you a reason to linger outdoors without adding another task during the busiest part of preparation.
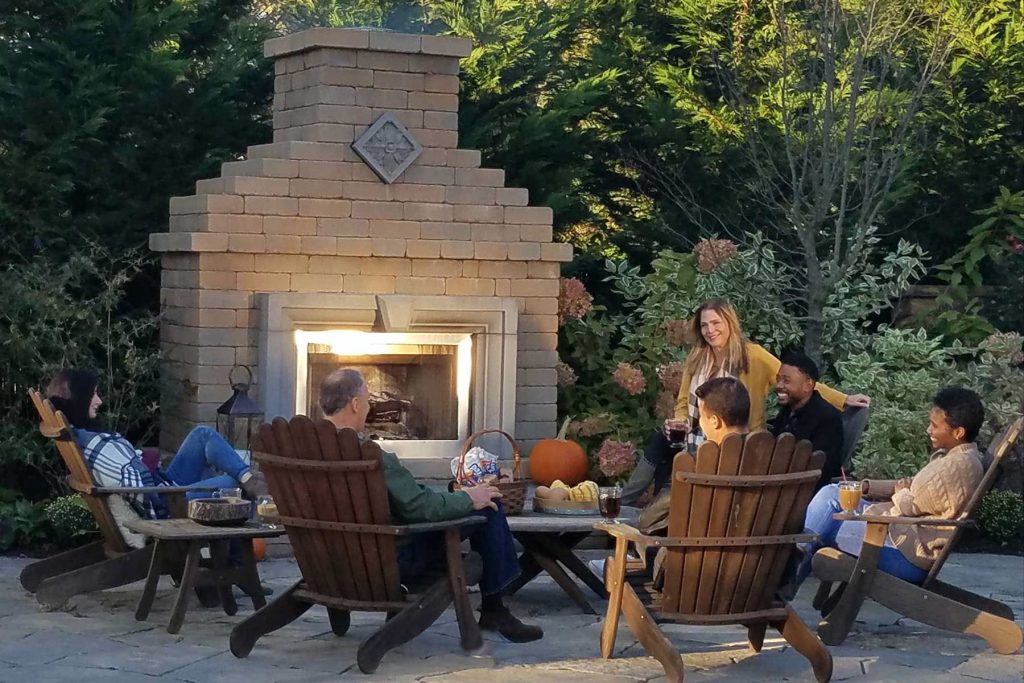
After dinner, follow manufacturer directions for shutdown, cooling, and cleaning. Once surfaces are cool and dry, fit the appropriate cover.
Store utensils, wipe counters, and clear debris from pathways. With those tasks finished, saying yes to another meal outside becomes easier.
If your next project includes more preparation room, a new dining area, or a complete outdoor kitchen, find a Nicolock dealer to discuss materials and options. Plan for the occasions you enjoy most, whether that means Saturday cookouts, Thanksgiving sides on the grill, or a quiet dinner for two.